Beth Stack
Beth Stack is a modern stack used for building web applications consisting of four technologies:
- Bun
- ElysiaJS
- Turso
- HTMX
Bun
BunJS is an all-in-one JavaScript runtime and toolkit that simplifies the development process for JavaScript and TypeScript projects. It includes three main features:
- Bundler: Bundles JavaScript and TypeScript files along with their dependencies into a single file or a set of files for optimized loading and execution.
- Test Runner: Automates the execution of test cases to ensure the code functions as expected and identifies any issues or bugs.
- Node.js-Compatible Package Manager: Provides compatibility with Node.js for managing project dependencies.
ElysiaJS
Elysia is a TypeScript framework powered by BunJS, offering features like end-to-end type safety, a unified type system, and an outstanding developer experience.
It aligns with modern trends in web development, prioritizing type safety and streamlined development workflows.
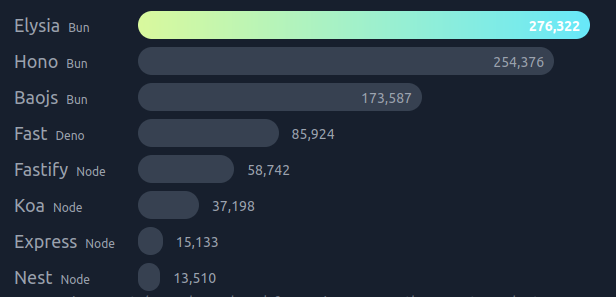
Elysia is known for its exceptional speed, surpassing Express.js by a factor of 18 in terms of performance.
Turso
Turso is a distributed database system designed to operate at the edge, meaning it works closer to where data is being used, providing low latency and faster access times. It is based on libSQL, an open-source and open-contribution fork of SQLite, a well-known and widely used relational database management system.
HTMX
HTMX is a modern JavaScript library enabling direct access to AJAX, WebSockets, and server-sent events within HTML using attributes.
HTMX allows you to build interactive web applications with dynamic behavior while leveraging existing HTML markup.
Benefits
- High Performance: Leveraging the speed of leading web technologies such as Bun and Elysia, the BETH stack boasts exceptional performance.
- Simplicity: With a focus on minimizing frontend JavaScript through the utilization of HTMX and Hyperscript, along with developer-friendly tools like Elysia and Turso, the BETH stack offers a straightforward and easy-to-use development experience.
- Flexibility: The BETH stack is highly adaptable and can be easily customized and integrated with an extensive range of tools, allowing it to align with the specific nature and needs of your project.
Installation on Linux
First, we begin by installing BunJS on Linux using the following command:
curl https://bun.sh/install | bash
To manage your Turso database effectively, install the Turso CLI for command-line control and administration.
curl -sSfL https://get.tur.so/install.sh | bash
We can verify its successful installation by running :
turso --version
Demo application
Now that we have successfully installed everything, we can begin building our web app using the Beth stack.
For this demonstration, we will create a simple To-Do app where users can add and delete tasks. All you need to do is follow these well-explained steps :
Step 1 : Initializing ElysiaJS project
Bootstrap a new project with bun create:
bun create elysia project_name
Once the Elysia project is created, if we navigate to the project directory, we will find the following file structure:
📂server
┣ 📂node_modules
┣ 📂src
┣ .gitignore
┣ 🥟bun.lockb
┣ 📜package.json
┣ 📜README.md
┗ 📜tsconfig.json
┣ 📂node_modules
┣ 📂src
┣ .gitignore
┣ 🥟bun.lockb
┣ 📜package.json
┣ 📜README.md
┗ 📜tsconfig.json
If we navigate to src/index.ts, you will find the following code:
import { Elysia } from "elysia";
const app = new Elysia().get("/", () => "Hello Elysia").listen(3000);
console.log( `🦊 Elysia is running at ${app.server?.hostname}:${app.server?.port}` );
const app = new Elysia().get("/", () => "Hello Elysia").listen(3000);
console.log( `🦊 Elysia is running at ${app.server?.hostname}:${app.server?.port}` );
This is a straightforward code snippet for launching an Elysia server. We begin by importing the Elysia package, initializing an Elysia object, and setting it to listen on port 3000.
Additionally, we define an API endpoint for handling GET requests at '/test' and respond with the string 'Hello Elysia'
Now, you can launch your server using this command in the terminal.
bun run src/index.ts
We should see this message appear in the terminal
$ bun run src/index.ts
🦊 Elysia is running at localhost:3000
🦊 Elysia is running at localhost:3000
Now, navigate to http://localhost:3000, and you should see this message
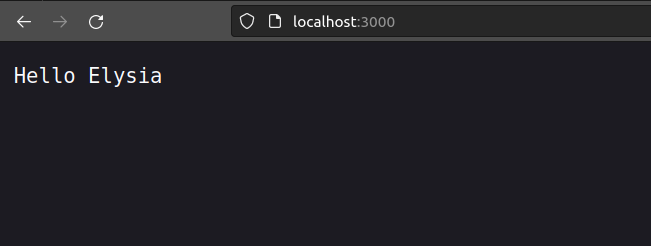
Step 2 : Developing Interfaces with HTMX
As previously discussed, HTMX offers a set of attributes that facilitate direct AJAX interaction.
This means you can seamlessly perform actions like sending POST requests to the server and dynamically loading specific sections of a webpage as a response.
In this section of the course, we will explore specific attributes that are valuable for the development of our application
<button hx-post="/clicked"
hx-trigger="click"
hx-target="#parent-div"
hx-swap="outerHTML"
> Click Me!
</button>
hx-trigger="click"
hx-target="#parent-div"
hx-swap="outerHTML"
> Click Me!
</button>
This code tells htmx: “When a user clicks on this button, issue an HTTP POST request to ‘/clicked’ and use the content from the response to replace the element with the id parent-div in the DOM”
Here is a list of the most commonly used attributes:
- hx-post: Issues a POST request to the given URL.
- hx-get: Issues a GET request to the given URL.
- hx-put: Issues a PUT request to the given URL.
- hx-delete: Issues a DELETE request to the given URL.
- hx-swap: allows you to specify how the response will be swapped in relative to the target of an AJAX request.The possible values of this attribute are:
- innerHTML - Replace the inner html of the target element
- outerHTML - Replace the entire target element with the response
- beforebegin - Insert the response before the target element
- afterbegin - Insert the response before the first child of the target element
- beforeend - Insert the response after the last child of the target element
- afterend - Insert the response after the target element
- delete - Deletes the target element regardless of the response
- none - Does not append content from response (out of band items will still be processed).
- hx-target:allows you to target a different element for swapping than the one issuing the AJAX request.
After we've seen how HTMX works, here is the architecture of how our application will function:
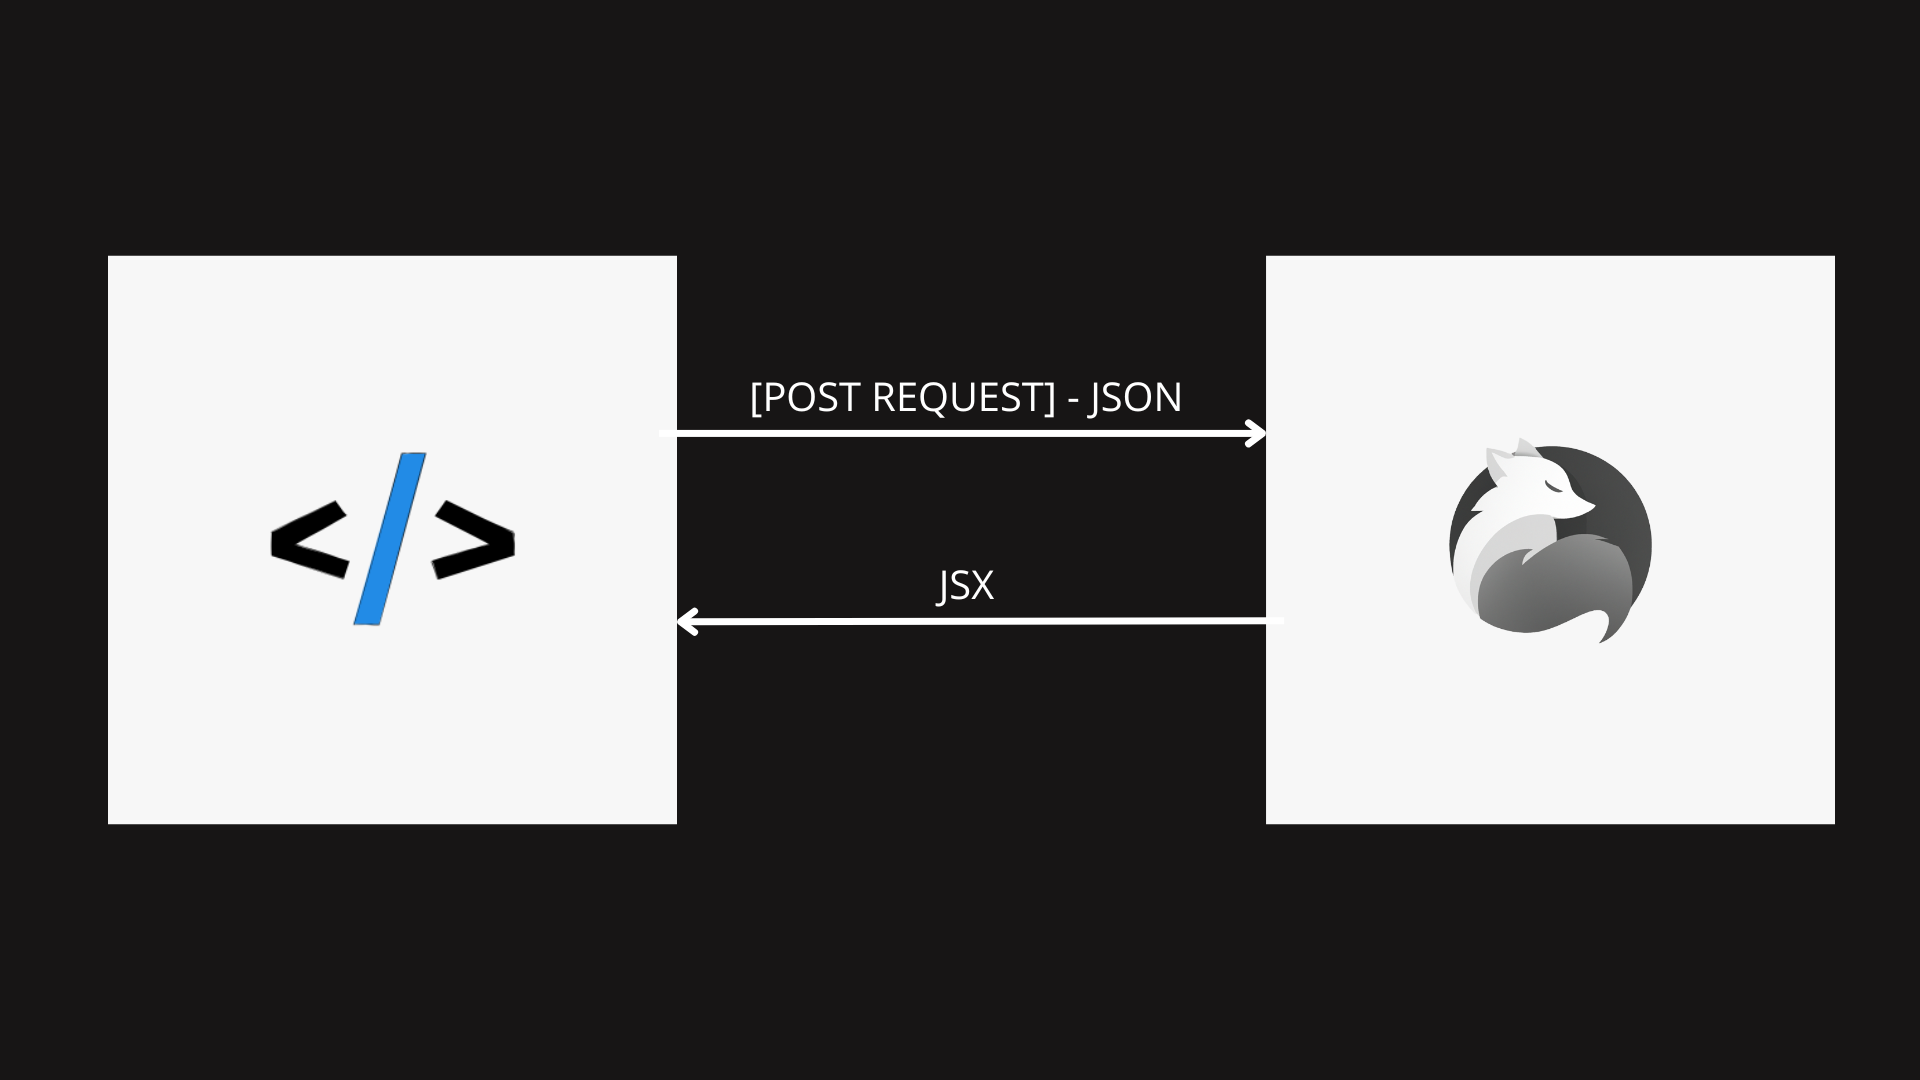
In this diagram, we'll illustrate how our app will operate. HTMX will initiate a request (GET/POST, etc.) in JSON format to an endpoint, and Elysia will respond with JSX.
If you're unfamiliar with JSX, don't worry; we'll explain it in this section.
JSX, or JavaScript XML, is a syntax extension used in JavaScript and popularized by React. It allows developers to write HTML-like code within JavaScript, making it easier to create and manage the user interface of web applications.
So In our application, we will leverage the strengths of both JSX and HTMX.
Now it's time to build our first component. First, we will create a 'components' folder to house all our components.
The initial component will consist of a simple HTMX code containing basic HTML elements that will be shared among other components.
📂components
┗ 📜BaseHtml.tsx
┗ 📜BaseHtml.tsx
import * as elements from "typed-html";
export function BaseHtml({ children }: elements.Children) {
return `
<!DOCTYPE html>
<html lang="en">
<head>
<meta charset="UTF-8">
<meta name="viewport" content="width=device-width, initial-scale=1.0">
<title>THE BETH STACK>
<script src="https://unpkg.com/htmx.org@1.9.3"> </script>
<link href="/styles.css" rel="stylesheet">
</head>
${children} `;
}
This function returns JSX which contains the basic structure of an HTML document with a head section.
<script> Tags: These tags include references to external JavaScript libraries (htmx.org ).
${children} Placeholder: This is a placeholder in the template string. The actual content passed as children will replace this placeholder. The assumption here is that children is a string containing HTML content.
Now, we will create our second component, which will contain the list of todos.
📂components
┣ 📜BaseHtml.tsx
┗ 📜TodoItems.tsx
┣ 📜BaseHtml.tsx
┗ 📜TodoItems.tsx
For now, it will be just a function that returns an unordered list. Afterward, this code will be modified :
export function TodoItems() {
return (
<ul id="todos">
</ul>
);
}
return (
<ul id="todos">
</ul>
);
}
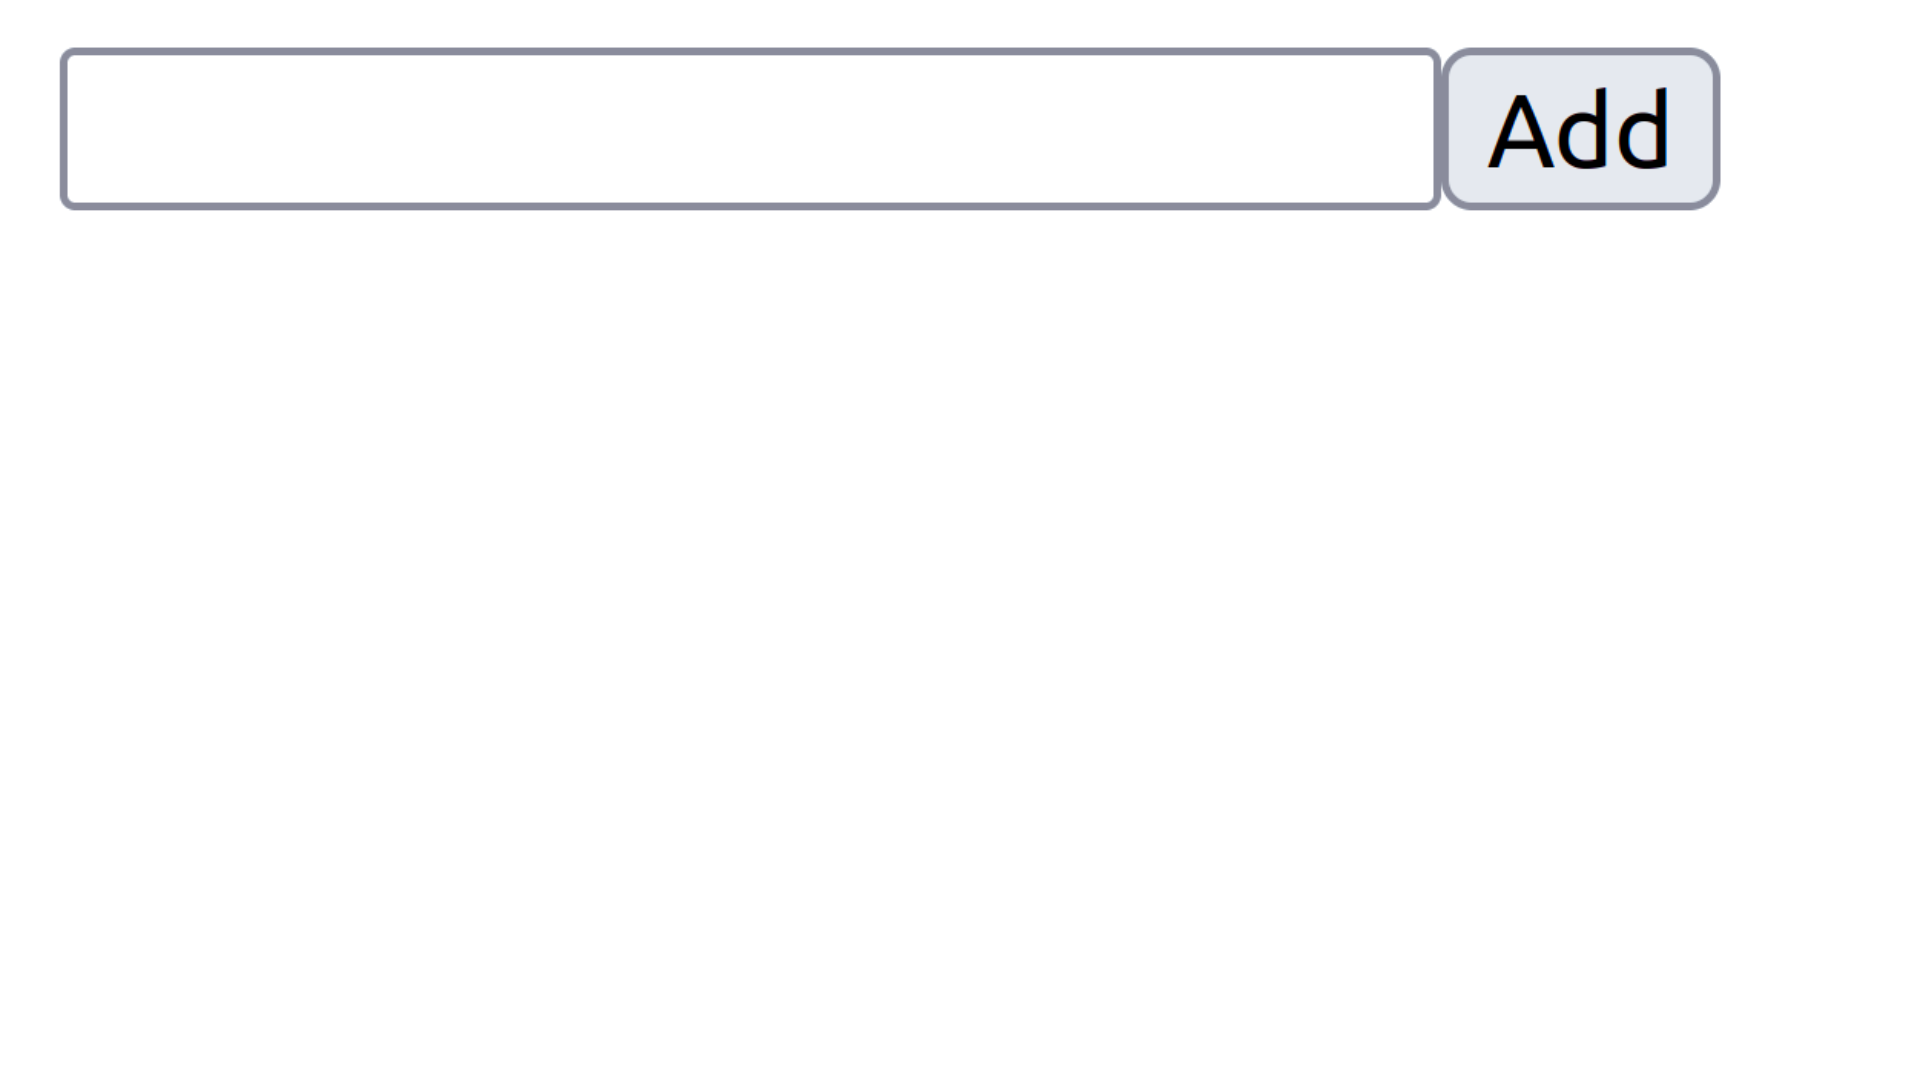
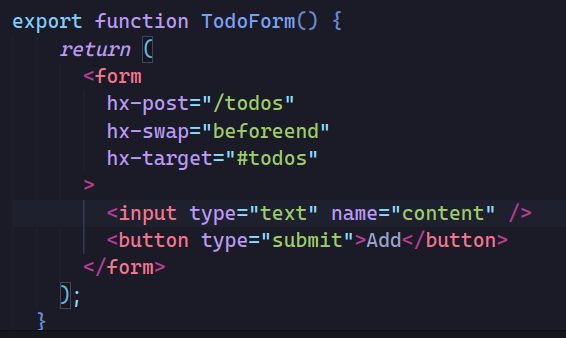
and for the last component , we'll make a simple form component to add new todos.
export function TodoForm() {
return (
<form
hx-post="/todos"
hx-swap="beforeend"
hx-target="#todos">
<input type="text" name="content" class="border border-black" />
<button type="submit">Add </button >
</form >
); }
return (
<form
hx-post="/todos"
hx-swap="beforeend"
hx-target="#todos">
<input type="text" name="content" class="border border-black" />
<button type="submit">Add </button >
</form >
); }
This component returns a form that includes three HTMX attributes: hx-post, hx-swap, and hx-target :
hx-post="/todos": This specifies that when the form is submitted, it should make a POST request to the "/todos" endpoint.
hx-swap="beforeend": After the form is submitted successfully, the response is inserted before the end of the element.
hx-target="#todos": The target element where the response should be inserted. It's identified by the CSS selector #todos.
So the new todo will be displayed right before the end of the in the TodoItems component.
Step 3 : Connect server to database
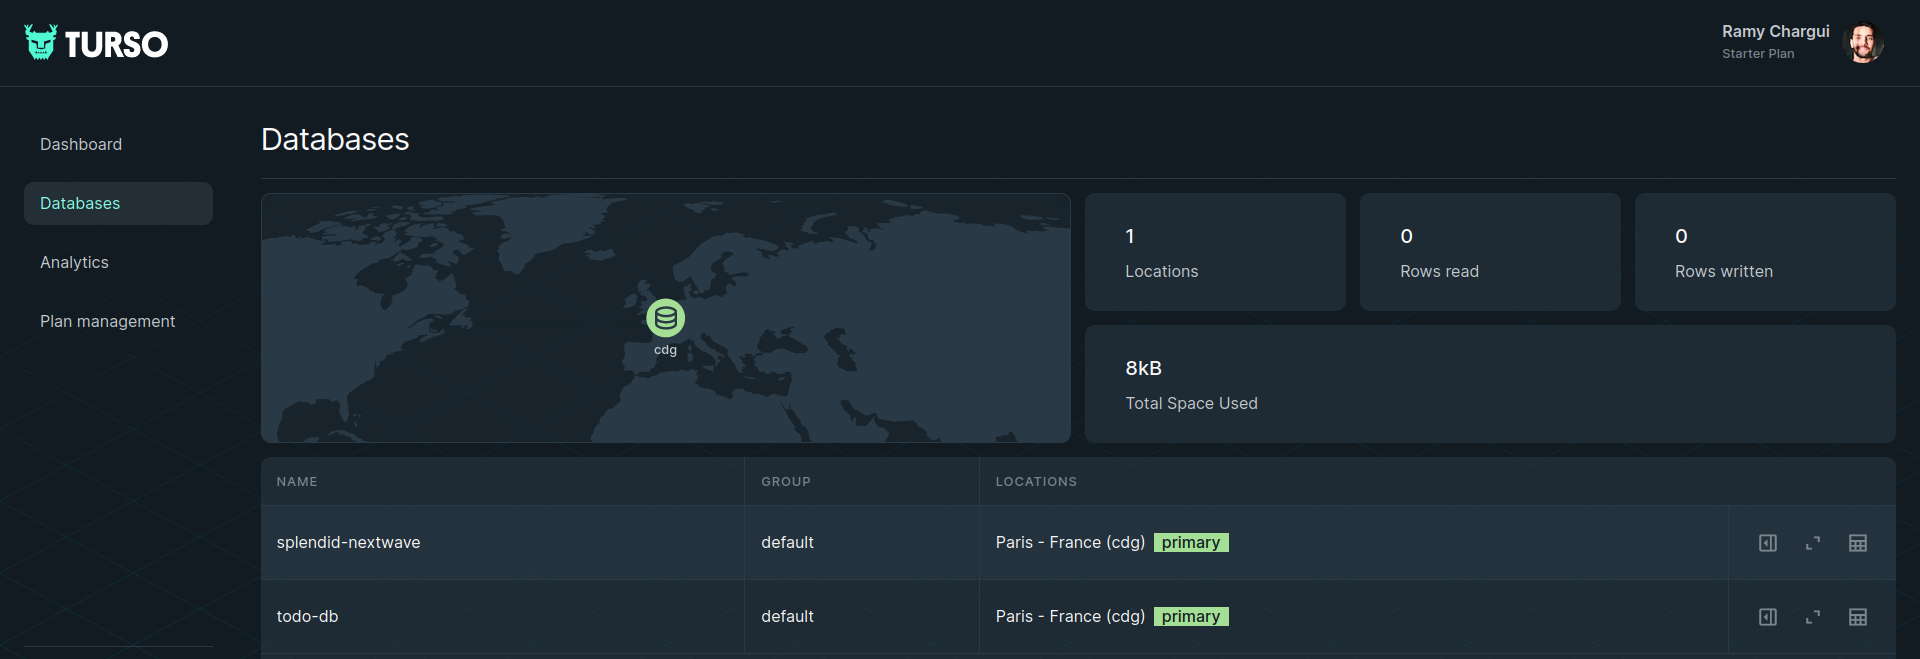
As mentioned before, we will be utilizing Turso as our database.
First, you need to create a database on the Turso website .Log in, navigate to the database creation section, provide the necessary details, and confirm the setup.
then we must install certain dependencies to facilitate the connection to the database :
bun add @libsql/client
And Drizzle, which is a TypeScript ORM :
bun add drizzle-orm
Now, in the 'src/db' directory, create a file named 'schema.ts' that contains the schema of our table.
import { integer, sqliteTable, text } from "drizzle-orm/sqlite-core";
export const todoSchema = sqliteTable('todo', {
id: integer("id", { mode: "number" }).primaryKey({ autoIncrement: true }),
content: text('content')
});
export const todoSchema = sqliteTable('todo', {
id: integer("id", { mode: "number" }).primaryKey({ autoIncrement: true }),
content: text('content')
});
Return to the 'src' directory and create a 'dbconfig.ts' file. In this file, you need to specify the database credentials required for connecting to the database.
import { createClient } from "@libsql/client";
import { drizzle } from 'drizzle-orm/libsql';
export const client = createClient({
url: //URL_TO_DATABASE,
authToken: //TOKEN
});
export const db = drizzle(client);
import { drizzle } from 'drizzle-orm/libsql';
export const client = createClient({
url: //URL_TO_DATABASE,
authToken: //TOKEN
});
export const db = drizzle(client);
Additional configuration settings need to be specified for Drizzle. Return to the root of the project and create drizzle.config.ts
import type { Config } from "drizzle-kit";
export default {
schema: "./src/db/schema.ts",
driver: "turso",
dbCredentials: {
url: //URL_TO_DATABASE,
authToken: //TOKEN
},
verbose: true,
strict: true,
} satisfies Config;
export default {
schema: "./src/db/schema.ts",
driver: "turso",
dbCredentials: {
url: //URL_TO_DATABASE,
authToken: //TOKEN
},
verbose: true,
strict: true,
} satisfies Config;
The final step is to add a script inside the 'package.json' file for running migrations.
"scripts": {
"push": "bunx drizzle-kit push:sqlite",
"dev": "bun run src/index.tsx"
},
"push": "bunx drizzle-kit push:sqlite",
"dev": "bun run src/index.tsx"
},
Step 4 : Create server endpoints
After completing the development of the interfaces, we can proceed to the server and establish our endpoints.
The initial endpoint will retrieve the data stored in the database and return the components containing the data using props.
📂src
┗ 📜index.tsx
┗ 📜index.tsx
import { TodoForm } from "../components/TodoForm";
import { BaseHtml } from "../components/BaseHtml";
import { TodoItems } from "../components/TodoItems";
app.get('/home',async()=>{
const todos = await db.select().from(todoSchema);
return (
<BaseHtml>
<TodoForm/>
<TodoItems todos={todos}/>
</BaseHtml>
) }
import { BaseHtml } from "../components/BaseHtml";
import { TodoItems } from "../components/TodoItems";
app.get('/home',async()=>{
const todos = await db.select().from(todoSchema);
return (
<BaseHtml>
<TodoForm/>
<TodoItems todos={todos}/>
</BaseHtml>
) }
Now, we need to modify the TodoItems component so that it can accept props.
export function TodoItems({todos} ) {
return (
<ul id="todos">
{todos.map((todo) => (
<li>{todo.content}</li>
))}
</ul>
);
}
return (
<ul id="todos">
{todos.map((todo) => (
<li>{todo.content}</li>
))}
</ul>
);
}
if we navigate to localhost:3000/home we should see this page
As you can see, no todos are displayed.
Now is the time to create another endpoint to save todos inside the database and update the ListItem component to display the new todos.
app.post('/todos',async({body})=>{
await db.insert(todoSchema).values({ content: body.content });
return (<li>{body.content}</li>)
})
await db.insert(todoSchema).values({ content: body.content });
return (<li>{body.content}</li>)
})
Let me break down what's happening here. So, the client sends this POST request over to the server at the '/todos' endpoint. The server gets hold of the JSON request and digs into the body object. It's like opening a package. Once it has that, the server saves it to the database.
Now, here's the interesting part. The server sends back a ListItem that holds the new todo. And guess where it goes? Right into the TodoItems component, sneaking its way into that 'ul' tag.
And why there, you ask? Well, it's a bit of a flashback to the TodoForm component. Remember when we said it should be placed just before the end of that element with the ID 'todos'? That's the plan, and that's where the new todo finds its spot!"
Result :
In this article, we conducted an in-depth examination of the BETH Stack, meticulously analyzing its inherent benefits, the intricate technologies at play, and the nuanced architecture that underpins its functionality.
Our exploration extended to the practical realm with the development of a rudimentary todo app, providing a hands-on experience to understand the mechanics of the BETH Stack.
Despite the breadth of our coverage, the realm of this new technology, bunJS, offers additional intricacies and features that warrant further exploration.
In conclusion, I express the hope that this article has served as a technical and comprehensive resource for those seeking a detailed understanding of the BETH Stack and its associated components.